As a business professional, you may be considering using a green screen to create video content for your company. While this can be a great way to produce engaging and unique video content, there are a few things you need to know before getting started.
In this blog post, we’ll go over the basics of filming with a green screen and provide some tips for creating successful videos. So, if you’re ready to take your business videos to the next level, keep reading!
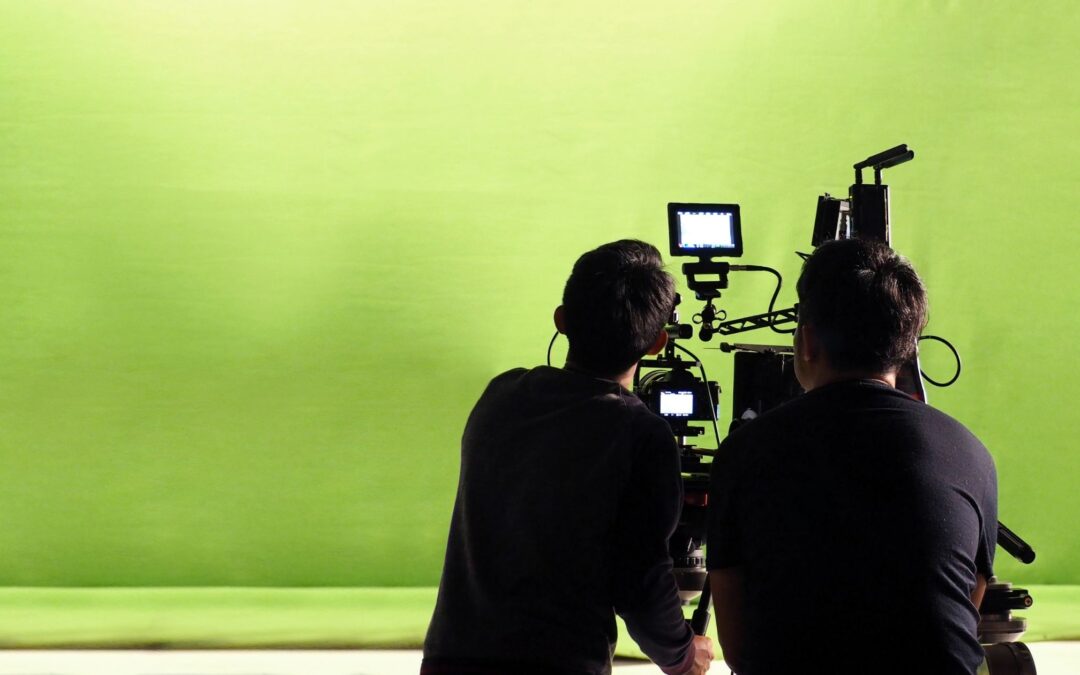
How To Film with A Green Screen
There are a few things you need to keep in mind when filming with a green screen. First, make sure that the green screen is large enough to fit all of the actors and props you’ll be using.
In addition, make sure that the green screen is evenly lit so that there are no dark spots or shadows. If possible, use a green screen backdrop instead of a green wall, as this will help to reduce any light reflections.
Once you have your green screen set up, you’ll need to position your camera so that it’s level with the green screen. This will help to create a consistent green background in your video.
Finally, make sure you use a wide-angle lens when filming with a green screen. This will help to reduce the risk of distortion and ensure that your video looks professional.
Tips for Creating Successful Green Screen Videos
Now that you know the basics of filming with a green screen, here are a few tips to help you create successful videos:
- Keep it simple: When creating green screen videos, it’s important to keep the concepts and visuals simple. This will help to ensure that your video looks professional and doesn’t overwhelm viewers.
- Green and reflective surfaces should be avoided at all costs. After chroma-keying, if the individual wears or holds something green, the areas will be transparent.
You should also avoid materials that are reflective. Shiny objects (such as glasses, massive jewelry, and props) will absorb the green from the screen and become translucent. However, only a small amount of jewelry is usually acceptable.
- Use Soft and Even Lighting: To achieve a similar texture and gradient, light the green screen as smoothly as possible. The more even the illumination, the better and easier it is to control the material.
Keep the color spectrum consistent by keeping the green screen as clean and smooth as possible. Check for creases if the screen is made of cloth. If you have painted furniture, keep extra paint on hand to touch up scuffs and scratches.
- ISO Settings: Reduce image noise and improve screen performance by setting your camera’s sensitivity to the lowest setting. You’ll end up with a better-looking image.
- Color Temperature: The color temperature of your camera must match the color temperature of the lighting you are using. To estimate the light intensity, use a photometer or the camera’s built-in exposure capabilities.
- Focus: It is critical to keep the actor or item in focus so that the boundaries are more defined and you can edit the green screen more easily.
- Size of the Green Screen: There are a few factors to consider here. Consider the size of the green screen you want and whether it will meet your requirements.
Keep in mind that if you choose a model without support, you will need a way to hang it. Furthermore, if you need to work in a variety of locations, we recommend choosing a screen that is easily portable.
The popularity of green screen technology is no surprise. It’s an incredibly efficient way to capture light and create stunning visual effects.
Whether you need help incorporating green screen technology into your next convention or trade show, or want to see the amazing results possible with the concert and athletic event marketing, Spring Forest Studio can help. Contact us today for a consultation and let us show you how greenscreen can take your business to the next level!